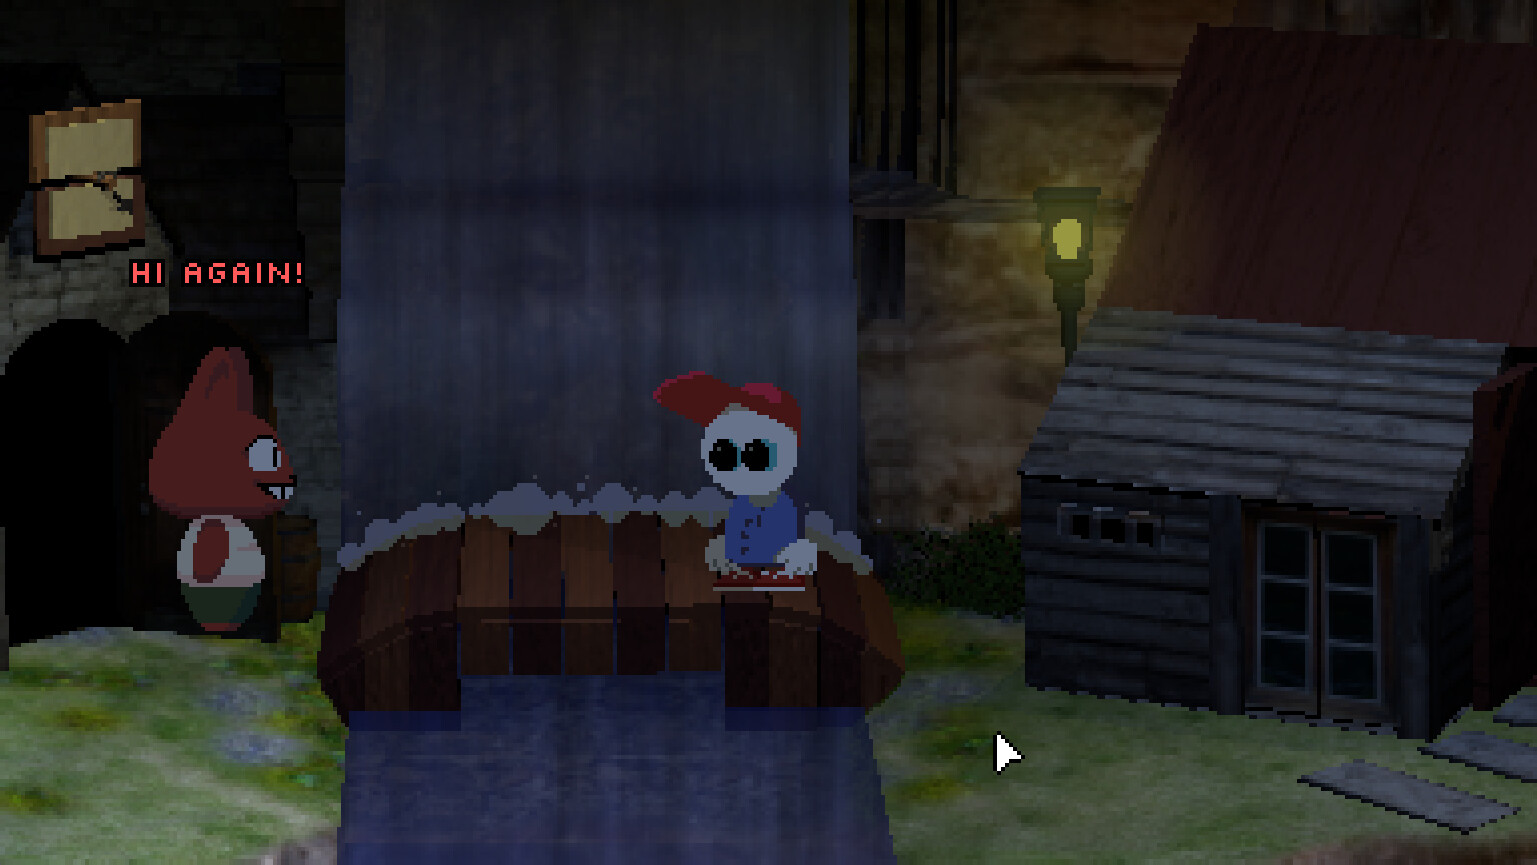
When the demo appears stalled, begin with the visible scene state and record the room, inventory, last confirmed change, and latest response before revealing additional help. Version-specific solution notes remain provisional until a local playthrough can reproduce them.
Layered help
What this walkthrough can safely cover
A useful walkthrough must match the exact build a player is running. The retained assets show the blue bedroom scene and title art, but they do not preserve a complete interaction transcript or save file. Publishing an item order from memory would be unreliable, so this page provides a reproducible route framework and states what evidence is still required before exact instructions are added.
The framework is still practical. Most stalls in a point-and-click demo come from one of six causes: an unseen hotspot, a response not repeated, dialogue not revisited, an item not examined, an interface state overlooked, or a transition trigger not recognized. Work through those categories in order before searching for a full solution.
Stage 1: complete the starting-room pass
Begin with the room visible in official promotional material. Do not assume the computer is the only meaningful object just because it is centered. Scan the hanging light, clock, calendar, framed face, wall decorations, outlet, desk hardware, chair, floor marks, carpet, ball, and room edges. The goal is not to force a response from every object; it is to establish which elements the current build recognizes and how it communicates recognition.
Record cursor changes and response text. If the game uses a default action rather than multiple verbs, repeat the action on objects that produce unusually specific lines. Look for changes after interacting with the computer or after selecting an inventory icon. If a hotspot becomes inactive, note whether that indicates completion or merely a temporary state.
Stage 2: map the computer as a location
Approach the computer interface methodically. List every visible control before activating one. Note startup text, icon labels, error messages, cursor boundaries, and any change to the room after exiting. If the interface includes files, applications, or prompts, treat their wording as literal evidence. Do not enter a code solely because a nearby object contains numbers; first look for a shared symbol, label, color, or context that links the clue to the input.
If progress appears to depend on the computer, test whether the missing requirement is external. Adventure interfaces often ask the player to bring information from the room back into the screen rather than solve everything inside the screen. Conversely, an interface action may alter a physical object, unlock dialogue, or reveal a new hotspot outside the computer.
Stage 3: audit inventory state
For each inventory icon, write down where it came from, whether it can be examined, and what visual feature distinguishes it. Select one item at a time and observe whether the pointer changes. Test high-confidence pairings first: tool with mechanism, container with substance, key-like object with lock-like object, or symbol with matching symbol. A humorous mismatch response can still be valuable because it confirms that the target is interactive.
If an item seems useless, revisit the place where it was found. The environment may contain a visual explanation of its purpose. Also try talking to characters while the item is selected if the interface supports that behavior. Do not discard an item from your mental model merely because the first obvious target rejects it.
Stage 4: make a world-state loop
After any meaningful change, leave the immediate puzzle and revisit every known interactive scene. Check for new dialogue, changed object descriptions, altered animation, and newly available exits. The most important evidence is difference: what is present now that was absent before? A screenshot before and after a major action makes that comparison reliable.
If nothing changes, return to the action that you believe was successful and verify that the game acknowledged it. A sound without a persistent change may be feedback rather than completion. A line of dialogue may indicate that a prerequisite is still missing. Avoid assuming that an action registered merely because the animation played.
Stage 5: use the hint ladder
Ask the following questions one at a time. Have I inspected every object? Have I repeated unusual interactions? Have I exhausted and then revisited dialogue? Have I examined every inventory item? Have I mapped every interface state? Have I returned to earlier locations after the latest change? The first unanswered question is your next action category.
Only after completing the ladder should you reveal a solution-level note. This guide intentionally contains no fabricated exact sequence. Verified hints should record the build identifier, route order, item acquisition, puzzle inputs, alternate responses, and completion state.
- 01Hint 1 — category
Identify whether the blocker is scene, dialogue, inventory, interface, or transition related.
- 02Hint 2 — direction
Name the relevant location or object class without stating the action.
- 03Hint 3 — relationship
Explain which two pieces of evidence connect.
- 04Solution — exact action
Publish only after a version-locked local reproduction.
Required verification record
Run the demo from a clean start and capture a timestamped action log. Record the exact title-screen version if present, all menu options, default controls, scene names used by the game, every obtainable item, every mandatory puzzle, and the final demo boundary. Repeat the route once to confirm that success was not caused by an accidental action omitted from the log.
Then convert the log into layered hints. Keep the route narrative concise, move optional reactions into collapsible notes, and label any content that changes between builds. Capture original screenshots only where they materially clarify a step, and enter them into the media manifest before use.
Frequently asked questions
Why is there no exact item sequence?
The retained evidence does not include a complete versioned playthrough. The site refuses to invent one and lists the evidence required for a reliable solution instead.
Is the room screenshot itself a solution clue?
It is evidence of visible objects and composition, but hidden functions must be confirmed in the playable build.
What is the fastest way to get unstuck?
Complete one world-state loop after auditing dialogue, inventory, and the computer interface.
Will this page be updated with full spoilers?
It is designed for that, but only after exact steps are reproduced and tied to a build version.